Easy Steps to Charge Arlo Pro 3 Floodlight Camera?

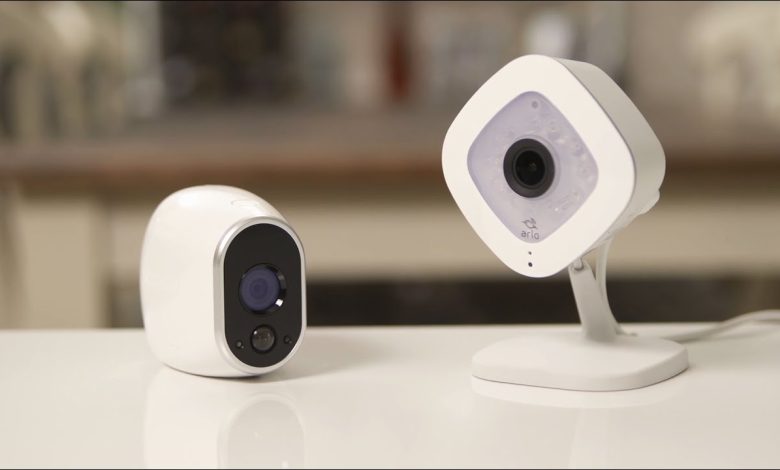
Have you installed an Arlo Pro 3 camera at your home? You can set up an Arlo Pro 3 floodlight camera at your home by replacing the outdoor floodlight. It is a wire-free camera built right in the middle of a bright LED floodlight. You can stay connected with your home and monitor your home from anywhere through live audio and videos. Are you looking for information on how to charge Arlo Pro 3 floodlight camera? You have landed on the correct web page. On this page, you will find all the different methods using which you can charge your Arlo camera. Keep on reading further to know about it.
How to Charge Arlo Pro 3 Floodlight Camera?
You can charge the Arlo Pro3 camera indoors or outdoors without having to disassemble any mounting component. The Arlo Pro 3 floodlight camera is built with two charging ports. One is a USB charging port on the camera itself, while the other is a magnetic charging port on the housing of the camera. Let us now tell you how to charge the Arlo Pro 3 camera.
Arlo Pro 3 floodlight Camera Charging: Using USB Port
You get the USB charging cable along with the Arlo Pro 3 camera in the box. Here are the instructions to charge the camera using the USB cable:
- Get near your camera.
- Take the Arlo camera out of the camera housing by pressing the button which is located somewhere underneath the camera housing.
- Pull the camera out of the camera housing completely.
- Now bring the camera inside the home and plug the USB charger into the Arlo camera.
- Once the camera is fully charged, unplug it from the USB port and place the camera back into the camera housing.
This is how you can charge the Arlo Pro 3 floodlight camera using the USB port.
Outdoor Magnetic Charging
You can connect the outdoor magnetic charging cable while your Arlo Pro 3 camera is mounted outdoors. This cable provides continuous power to the camera. By that, we mean, that while the camera is getting charged through the magnetic charging cable, the camera continues to work. Here is how you can charge the Arlo Pro 3 camera using the magnetic charging port:
- Get closer to the Arlo Pro 3 camera.
- Now lay your hands on the outdoor magnetic charging cable and also connect it to the camera.
- Plug the other end into the wall socket. Make sure it is an active power source.
- The Arlo camera will begin charging automatically.
- Once the camera is charged completely, disconnect the magnetic charging cable from the wall socket and the camera.
This way you can charge the Arlo Pro 3 floodlight camera using the outdoor magnetic charging cable. Make a note that this cable does not come along with the camera in the box during purchase. This is an add-on that you need to purchase in addition to the Arlo camera
Arlo Pro 3 floodlight Camera: Indoor Magnetic Charging
Arlo indoor magnetic charging cable can also be put to use to charge the Arlo Pro 3 camera. This cable is also inserted into the magnetic charging port of the camera. The difference between this and the previous method is that in the previous method, you also charge the camera outdoors, and in this method, you must remove the camera from the wall.
Solar Panel Charging
An add-on Arlo solar panel can also be used to charge the Arlo Pro 3 floodlight camera. You need to connect it to the Arlo camera to provide continuous power. The camera keeps working while getting charged. This weather-resistant solar panel uses the direct sunlight and keeps your Arlo camera battery charged.
To Briefly Conclude
This is all about how to charge the Arlo Pro 3 floodlight security camera. We have provided you with different methods using which you can also charge your Arlo camera. For your information, the Arlo camera needs to be more than 50% charged while you are trying to set it up for the first time. So whether you are charging your camera before setup or after setup, use any of the above-given steps and charge the camera. After charging you can easily set up the Arlo camera by accessing Arlo security camera login page. After the setup is completed you can use the camera trouble-free for longer period of time.
Read more- Rockspace AC1200 extender Login Not Working


